Bootstrap Header Design
Intro
Just as within published documentations the header is just one of the most essential elements of the web pages we receive and design to utilize regularly. It tightly holds the absolute most crucial information about the status of the organization or else individual responsible for the web page itself and the essence of the entire web site-- its own navigation building which as well as the Bootstrap Header Design itself really should be thought and design in this type of way that a visitor in a rush or not really actually realizing in which way to head to merely take a peek at and find the wanted information. This is the ideal scenario-- in the real world making as near as feasible to this visual aspect and disruptive behavior also goes on due to the fact that we nearly each moment have some project specific limits to think about. Also not like the written paperworks in the world of net we ought to always keep in mind the diversity of possible gadgets on which our pages could potentially get shown-- we should guarantee their responsive attitude or in other words-- make sure they will reveal best at any display screen size attainable.
In this way let us have a look and check out the way in which a navbar gets generated in Bootstrap 4. ( get more information)
How you can apply the Bootstrap Header Class:
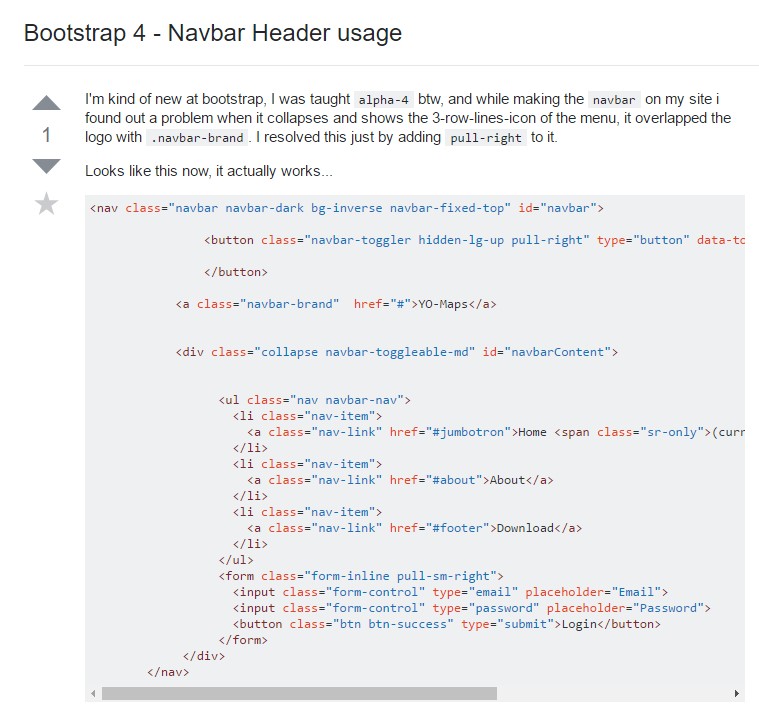
First off to create a web page header or since it gets referred to within the framework-- a navbar-- we ought to wrap the whole item into a
<nav>.navbar.navbar-toggleable- ~ screen size ~.bg-*.navbar-light.navbar-lightWithin this parent component we need to start by inserting a button feature which in turn shall certainly be operated to reveal the collapsed web content on a smaller sized screen scales-- to execute that set up a
<button>.navbar-toggler.navbar-toggler-left.navbar-toggler-righttype = " button "data-toggle ="collapse"data-target = " ~ the collapse element ID ~What is certainly bright fresh for recent alpha 6 release of the Bootstrap 4 framework is that within the
.navbar-togler<span>.navbar-toggler-icon<a>.navbar-brand<div class="img"><img></div>Now-- the main element-- producing the collapsible container for the main internet site navigation-- to do it make an element using the
.collapse.navbar-collapseid =" ~ same as navbar toggler data-target ~ ".collapse<ul>.navbar-nav<ul><li>.nav-item<a>.nav-link.nav-item.nav-link.nav-item.dropdown<li>.dropdown-toggle.nav-link.nav-item<div>.dropdown-menu.dropdown-itemSome example of menu headers
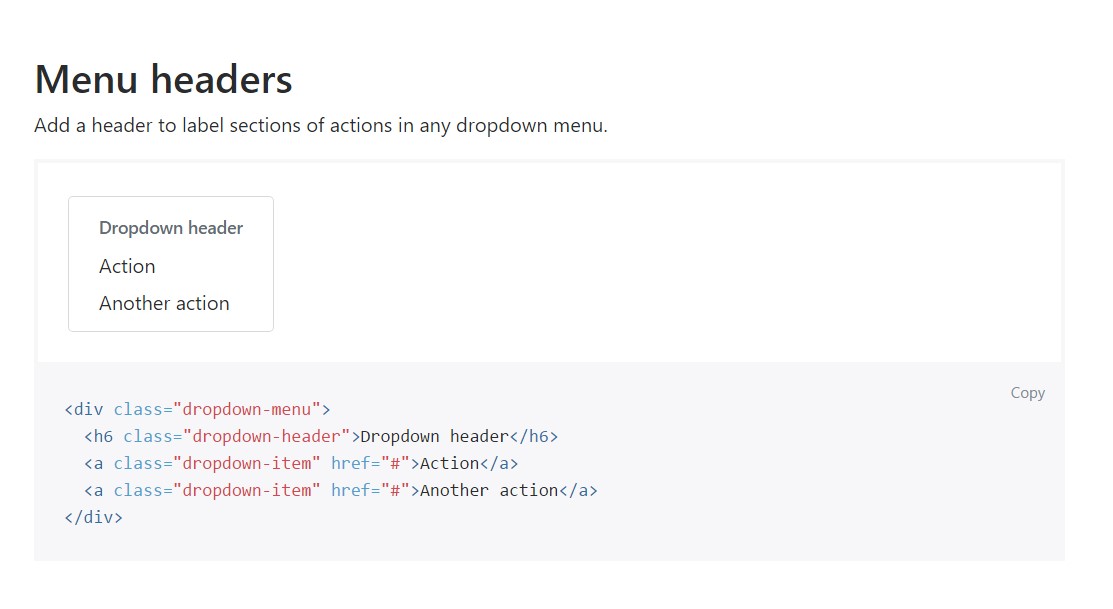
Put in a header to label segments of activities in any dropdown menu.
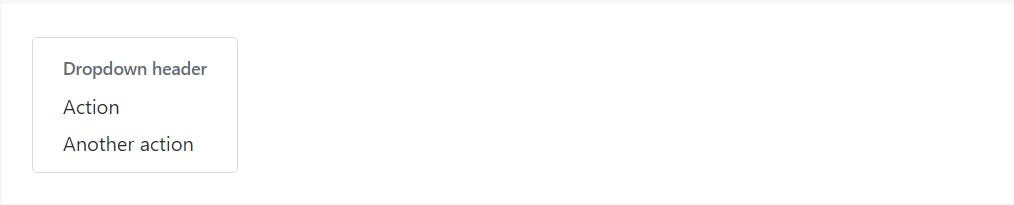
<div class="dropdown-menu">
  <h6 class="dropdown-header">Dropdown header</h6>
  <a class="dropdown-item" href="#">Action</a>
  <a class="dropdown-item" href="#">Another action</a>
</div>
extra possibilities
One other brand-new item for this version is the possibility to put in an inline forms in your
.navbar.form-inline<span>.navbar-textConclusions
As soon as it involves the header parts in the latest Bootstrap 4 edition this is being dealt with with the included Collapse plugin and several navigation special content classes-- a number of them designed particularly for preventing your brand's identity and others-- to get certain the real page navigating system will feature best collapsing in a mobile design menu when a specified viewport size is accomplished.
Check a couple of online video tutorials regarding Bootstrap Header
Linked topics:
Bootstrap Header: approved documents
Bootstrap Header training
Bootstrap 4 - Navbar Header handling